
Create a Campaign-Live Transfer
Instructions
- Navigate to the Campaigns page by selecting Campaigns from the top navigation menu in the upper right corner.

- On the Campaigns page click the New Campaign button.
 NOTE: After clicking the New Campaign button, another window will open where you can specify your campaign settings.
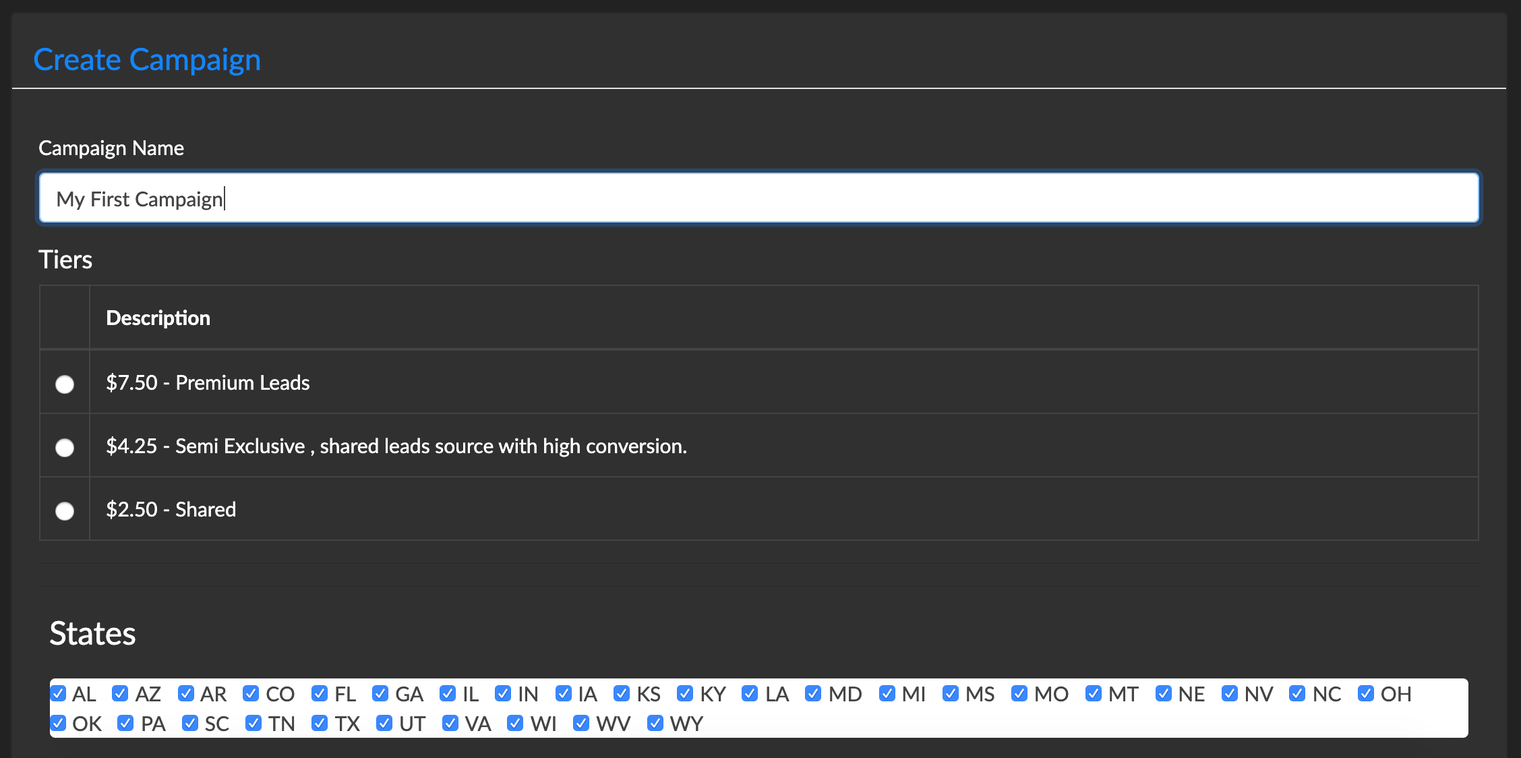
 - Complete the first half of the form:
- Enter a descriptive name for the Campaign (Live Transfer)
- Choose the Live Transfer tier.
- Deselect any states you do not want or are not registered for.
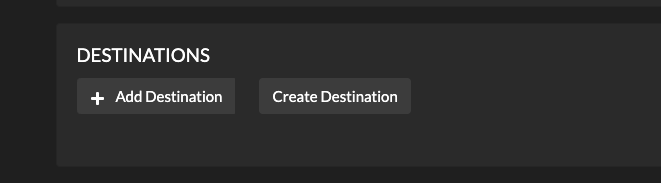
- Choose the destination to deliver the leads to by selecting Add Destination.
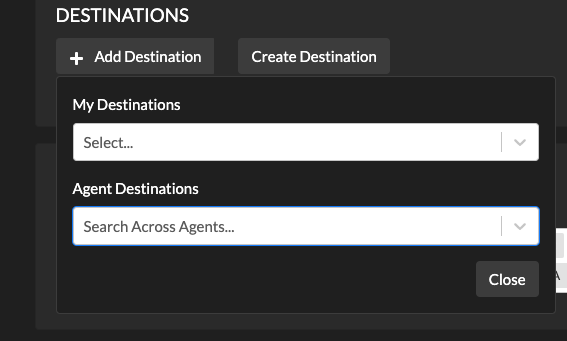
- Add Destination: These are your CRM's profiles added by your region admin or emails that you set up manually using the Create Destination button.
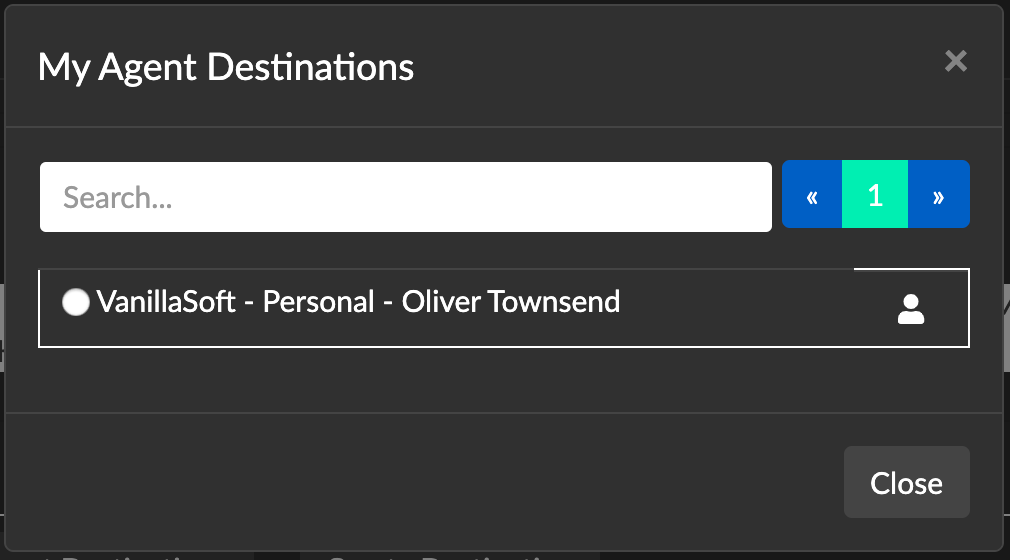
 NOTE: Most agents will only have a Personal CRM profile, but some managers may have a Team CRM Profile as well.
 - Agent Destinations: These are the destinations of agents that are listed in your My Agent's view.
- Add Destination: These are your CRM's profiles added by your region admin or emails that you set up manually using the Create Destination button.
- Each destination you select will list in the campaign form.
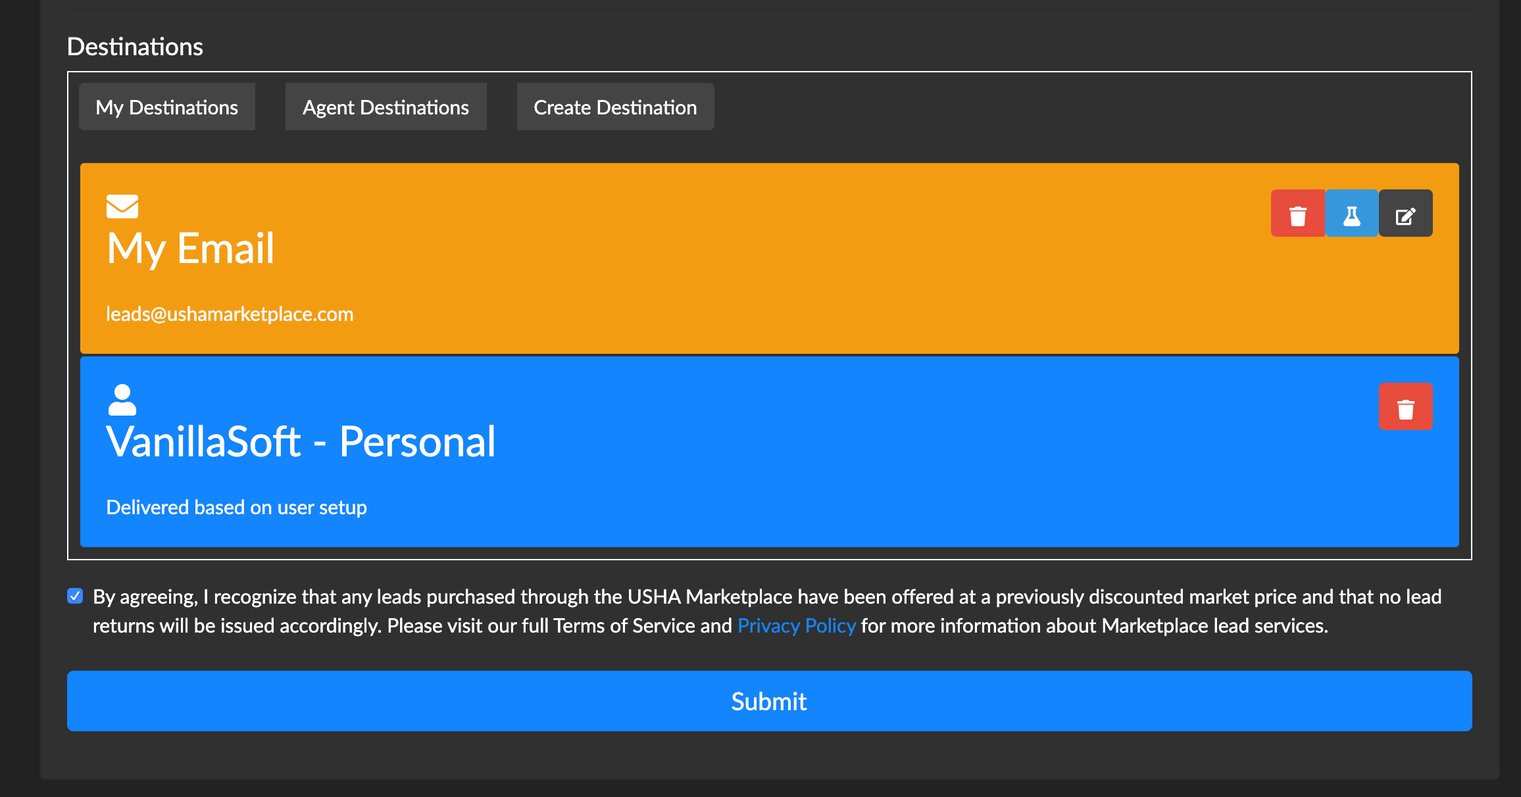
- Agree to the term and conditions and press the Save button.

- Once the save has been completed you will be redirected to the Campaign page where your new campaign will appear in the list.
- IMPORTANT: Your campaign will not begin to receive leads until you have set up a spending period and checked the campaign on to running.
- For more information on how to set up a spending period check out Add Spending Periods

 NOTE: After clicking the New Campaign button, another window will open where you can specify your campaign settings.

 NOTE: Most agents will only have a Personal CRM profile, but some managers may have a Team CRM Profile as well.

